Taking Notes
Everything is setup. Tech begins and the notes start flying in. Don't worry, we've got you.
Let's take our first note. For this example we will be operating in the Cue Notes module but we will explore the other modules shortly.
To add a note you can either select the [+ Add Cue Note] button in the top right of the page or select any of the Quick Add options you have.
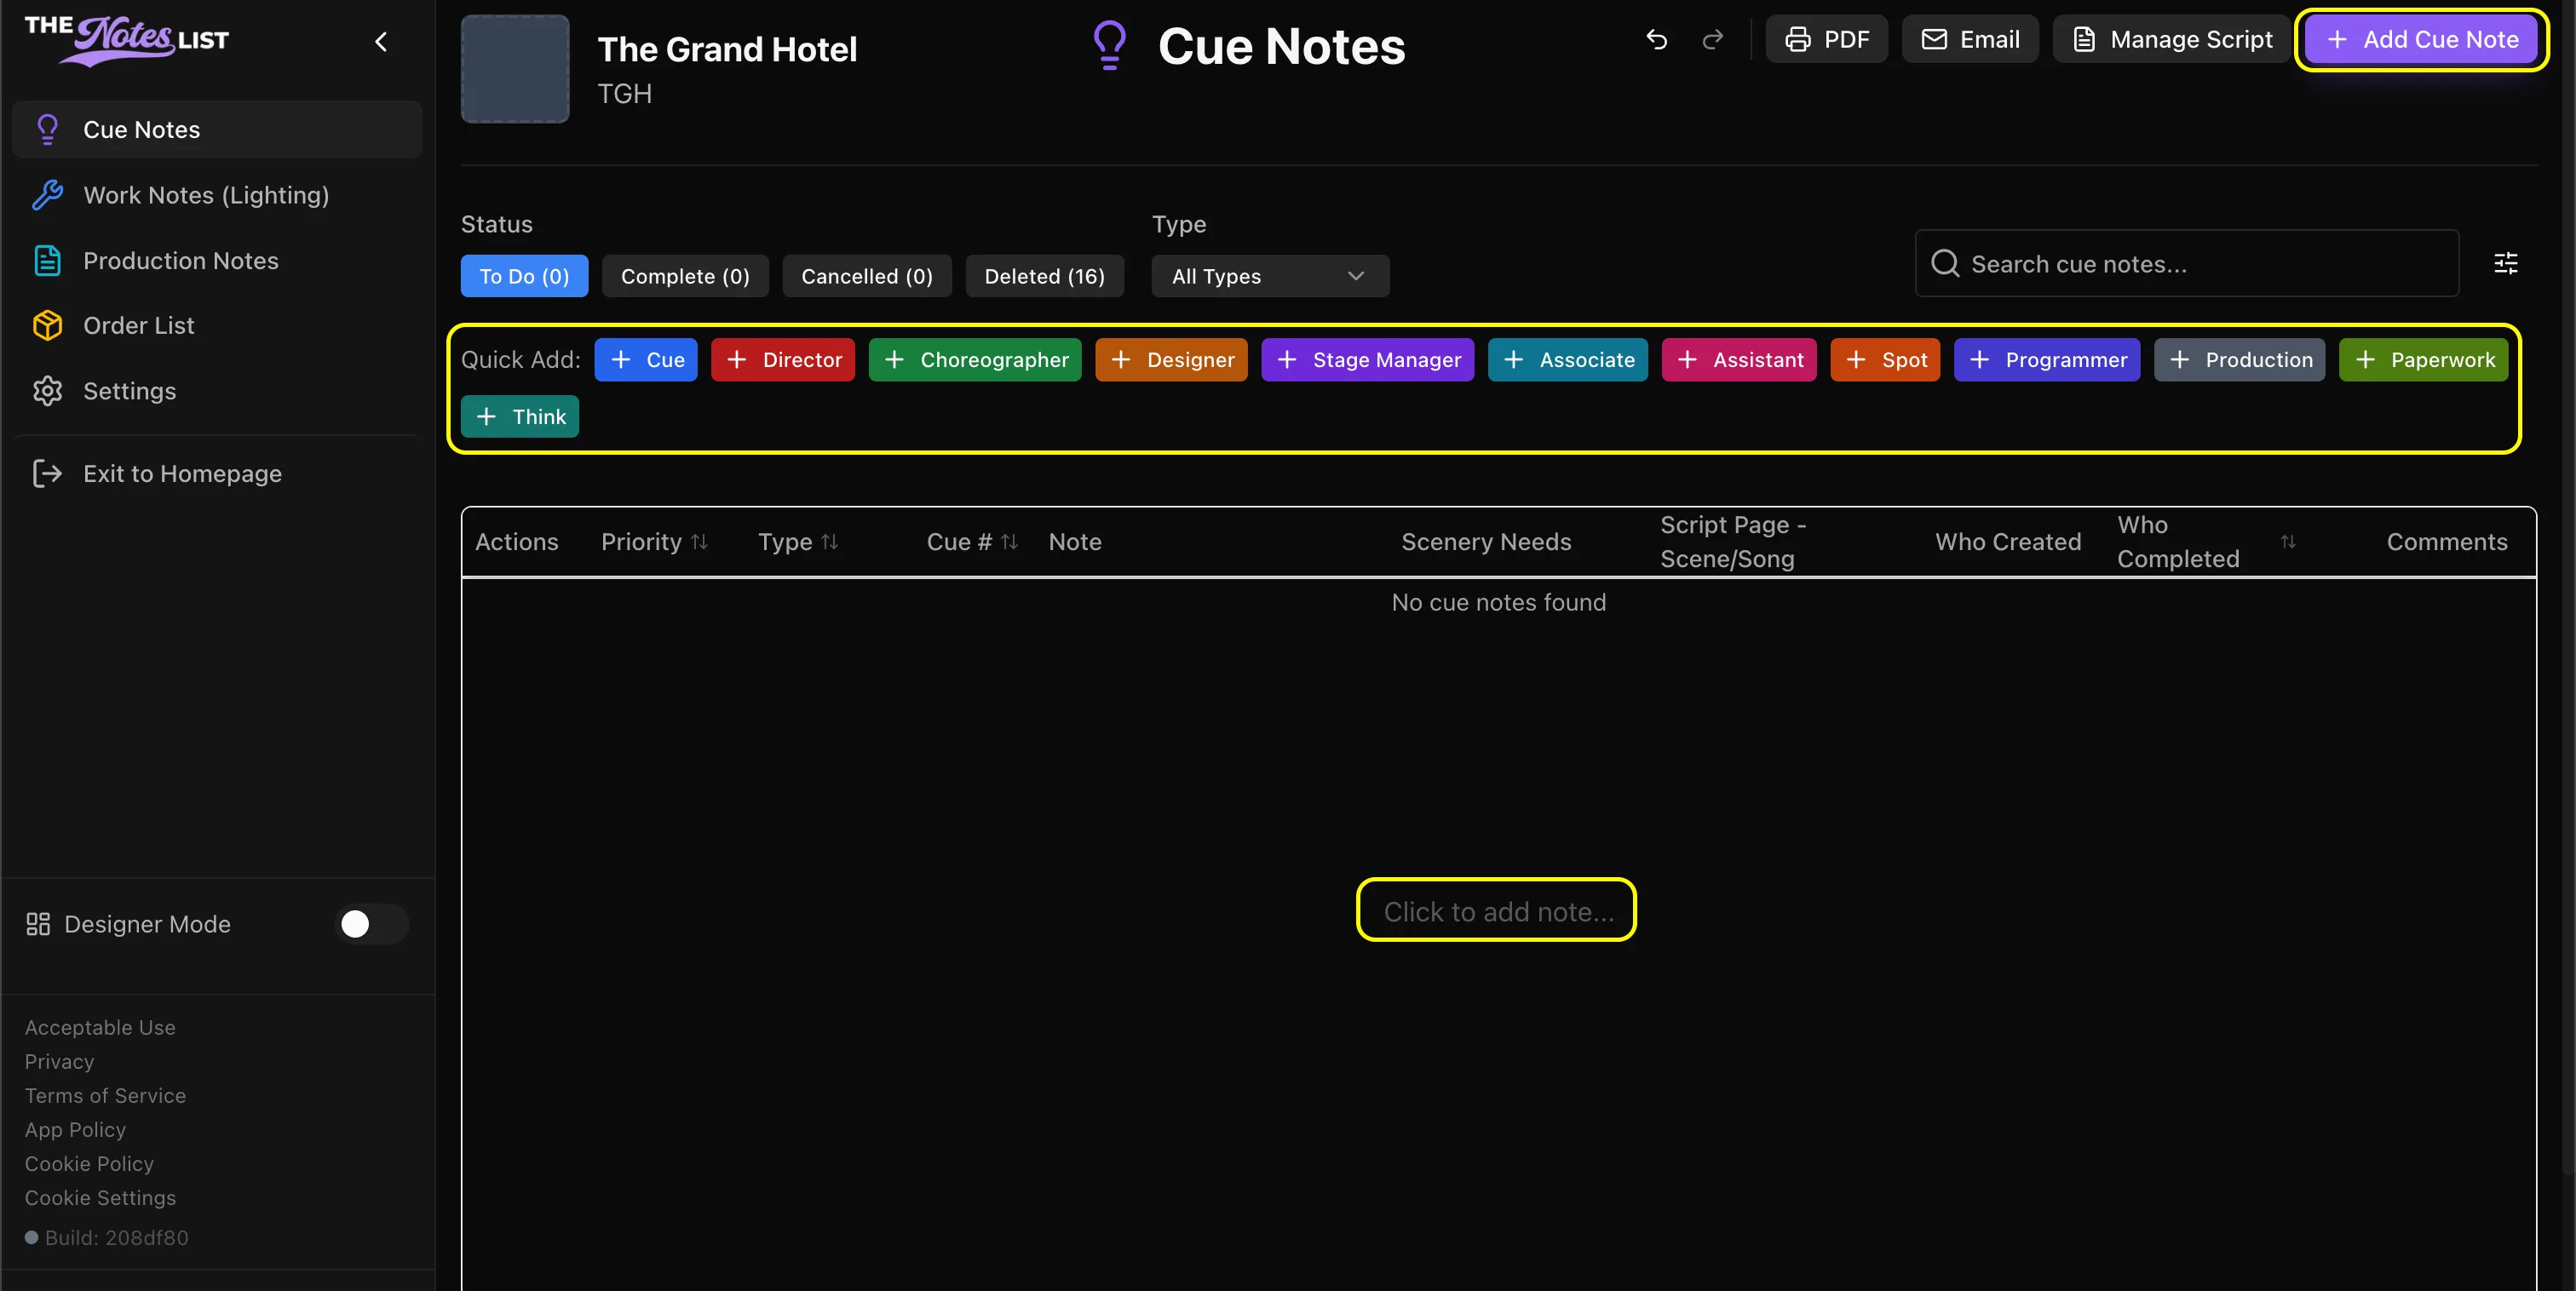
For this example, let's add a note for the Stage Manager that we'd actually like to call Cue 65 a little earlier.
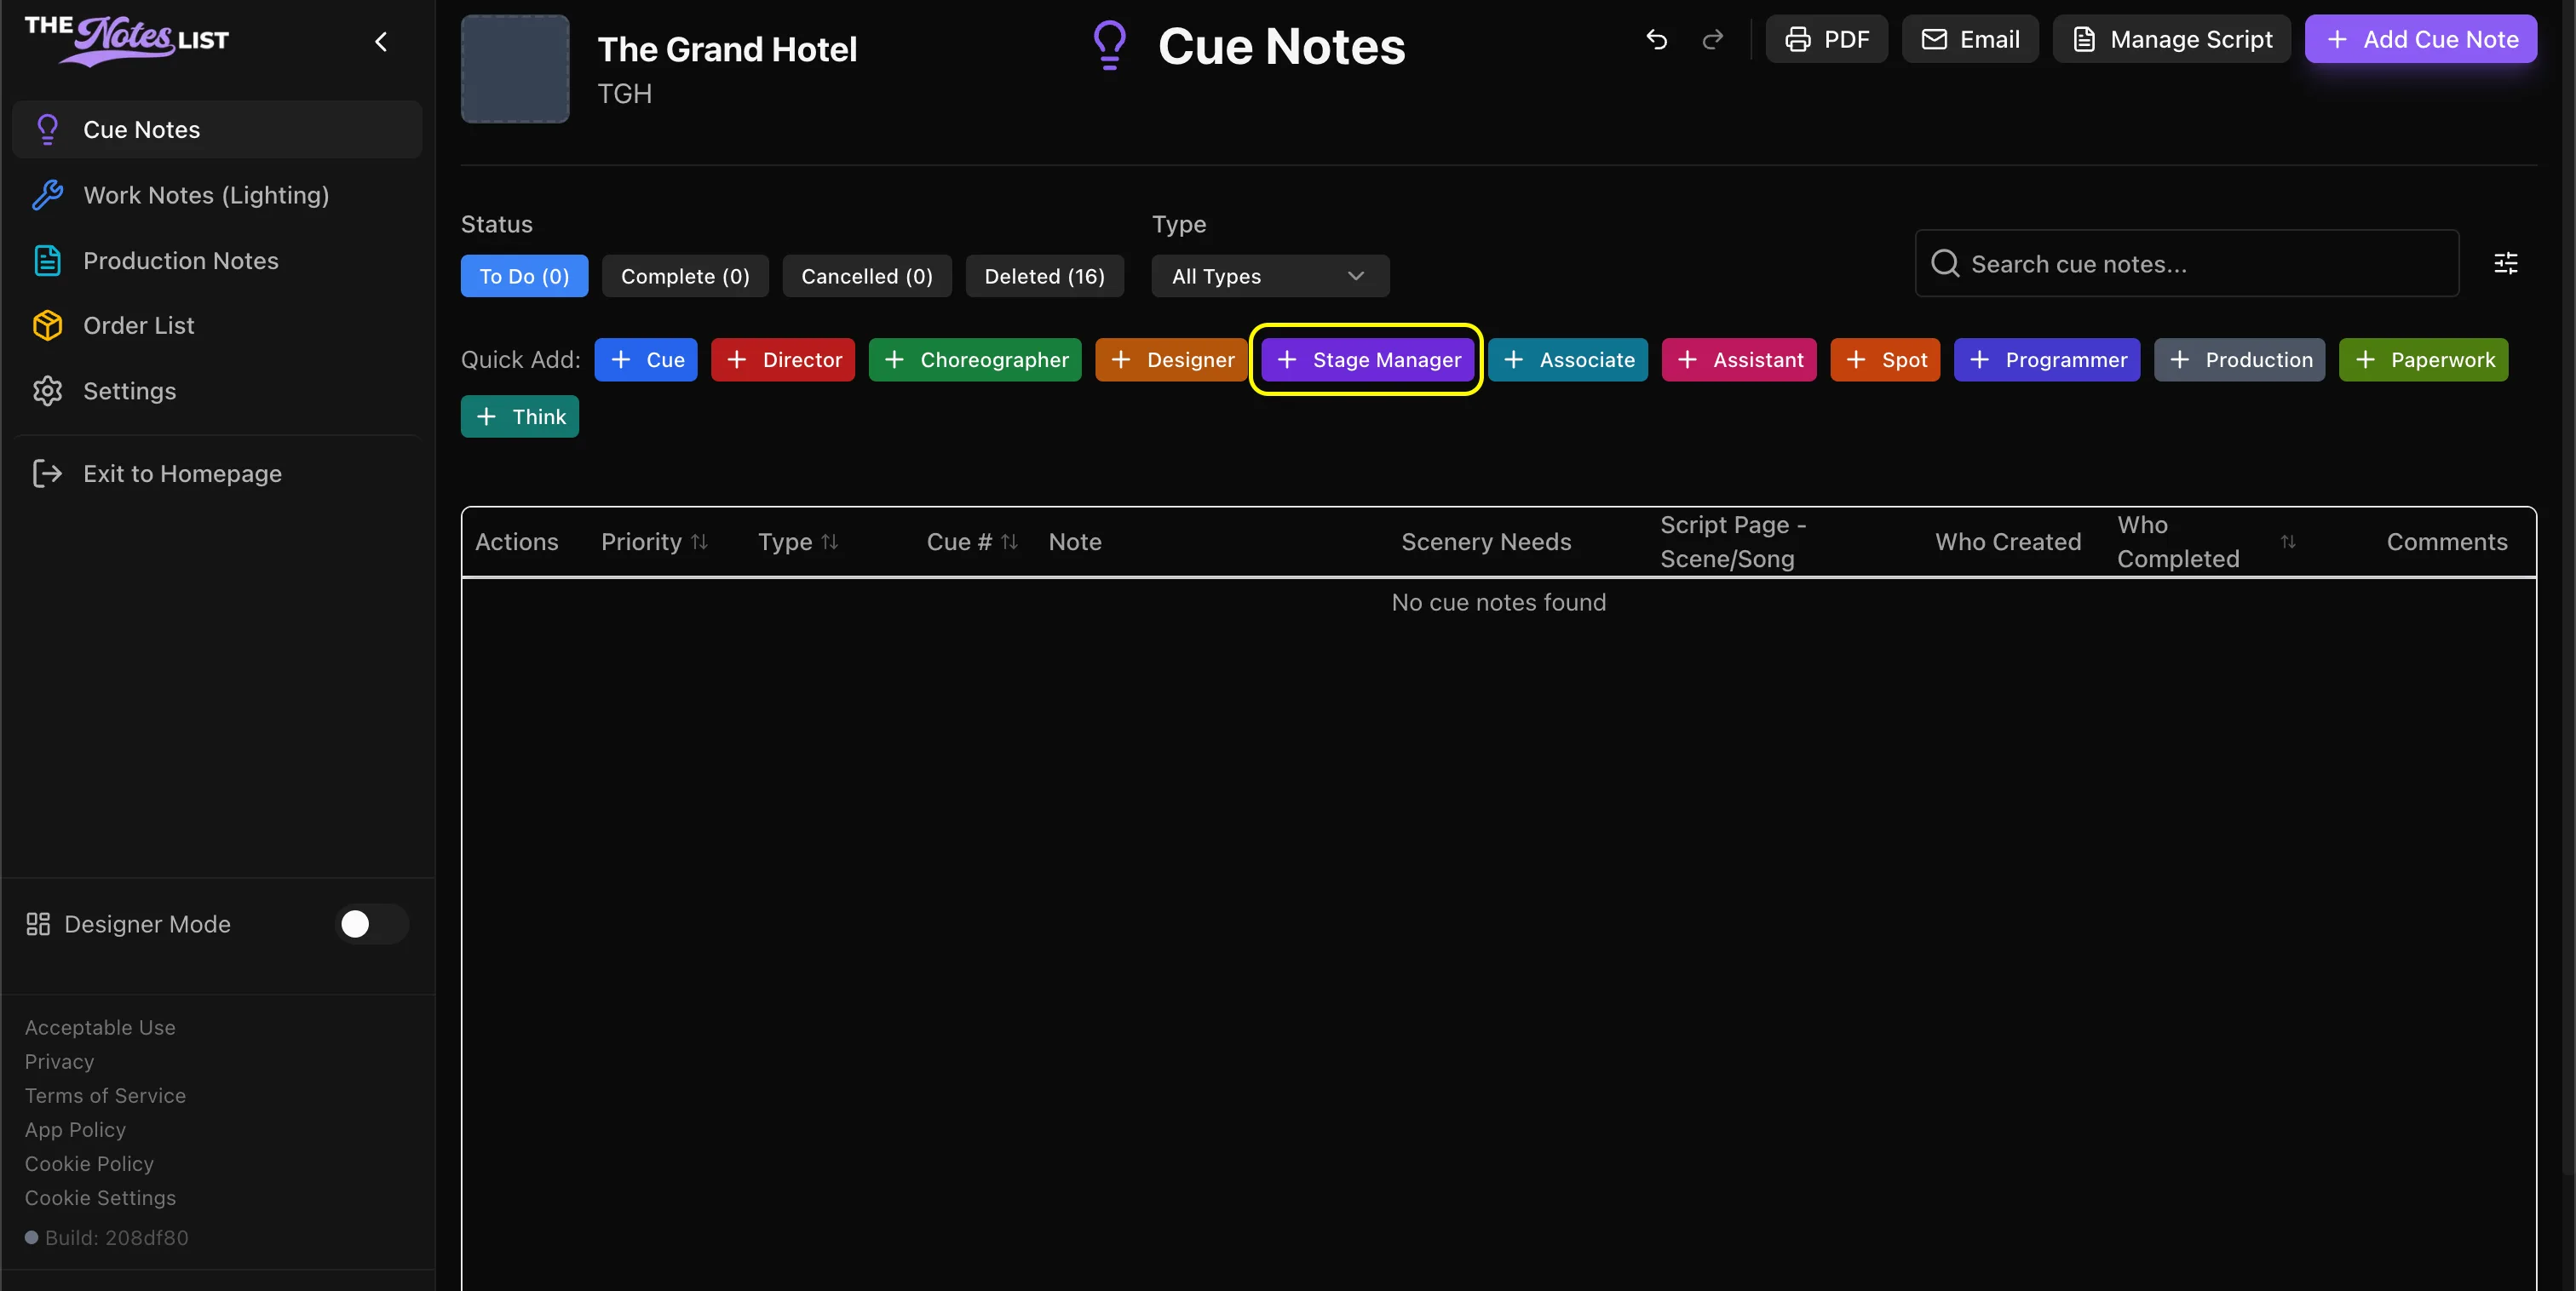
Select your Quick Add
For this example, we're selecting [+ Stage Manager]
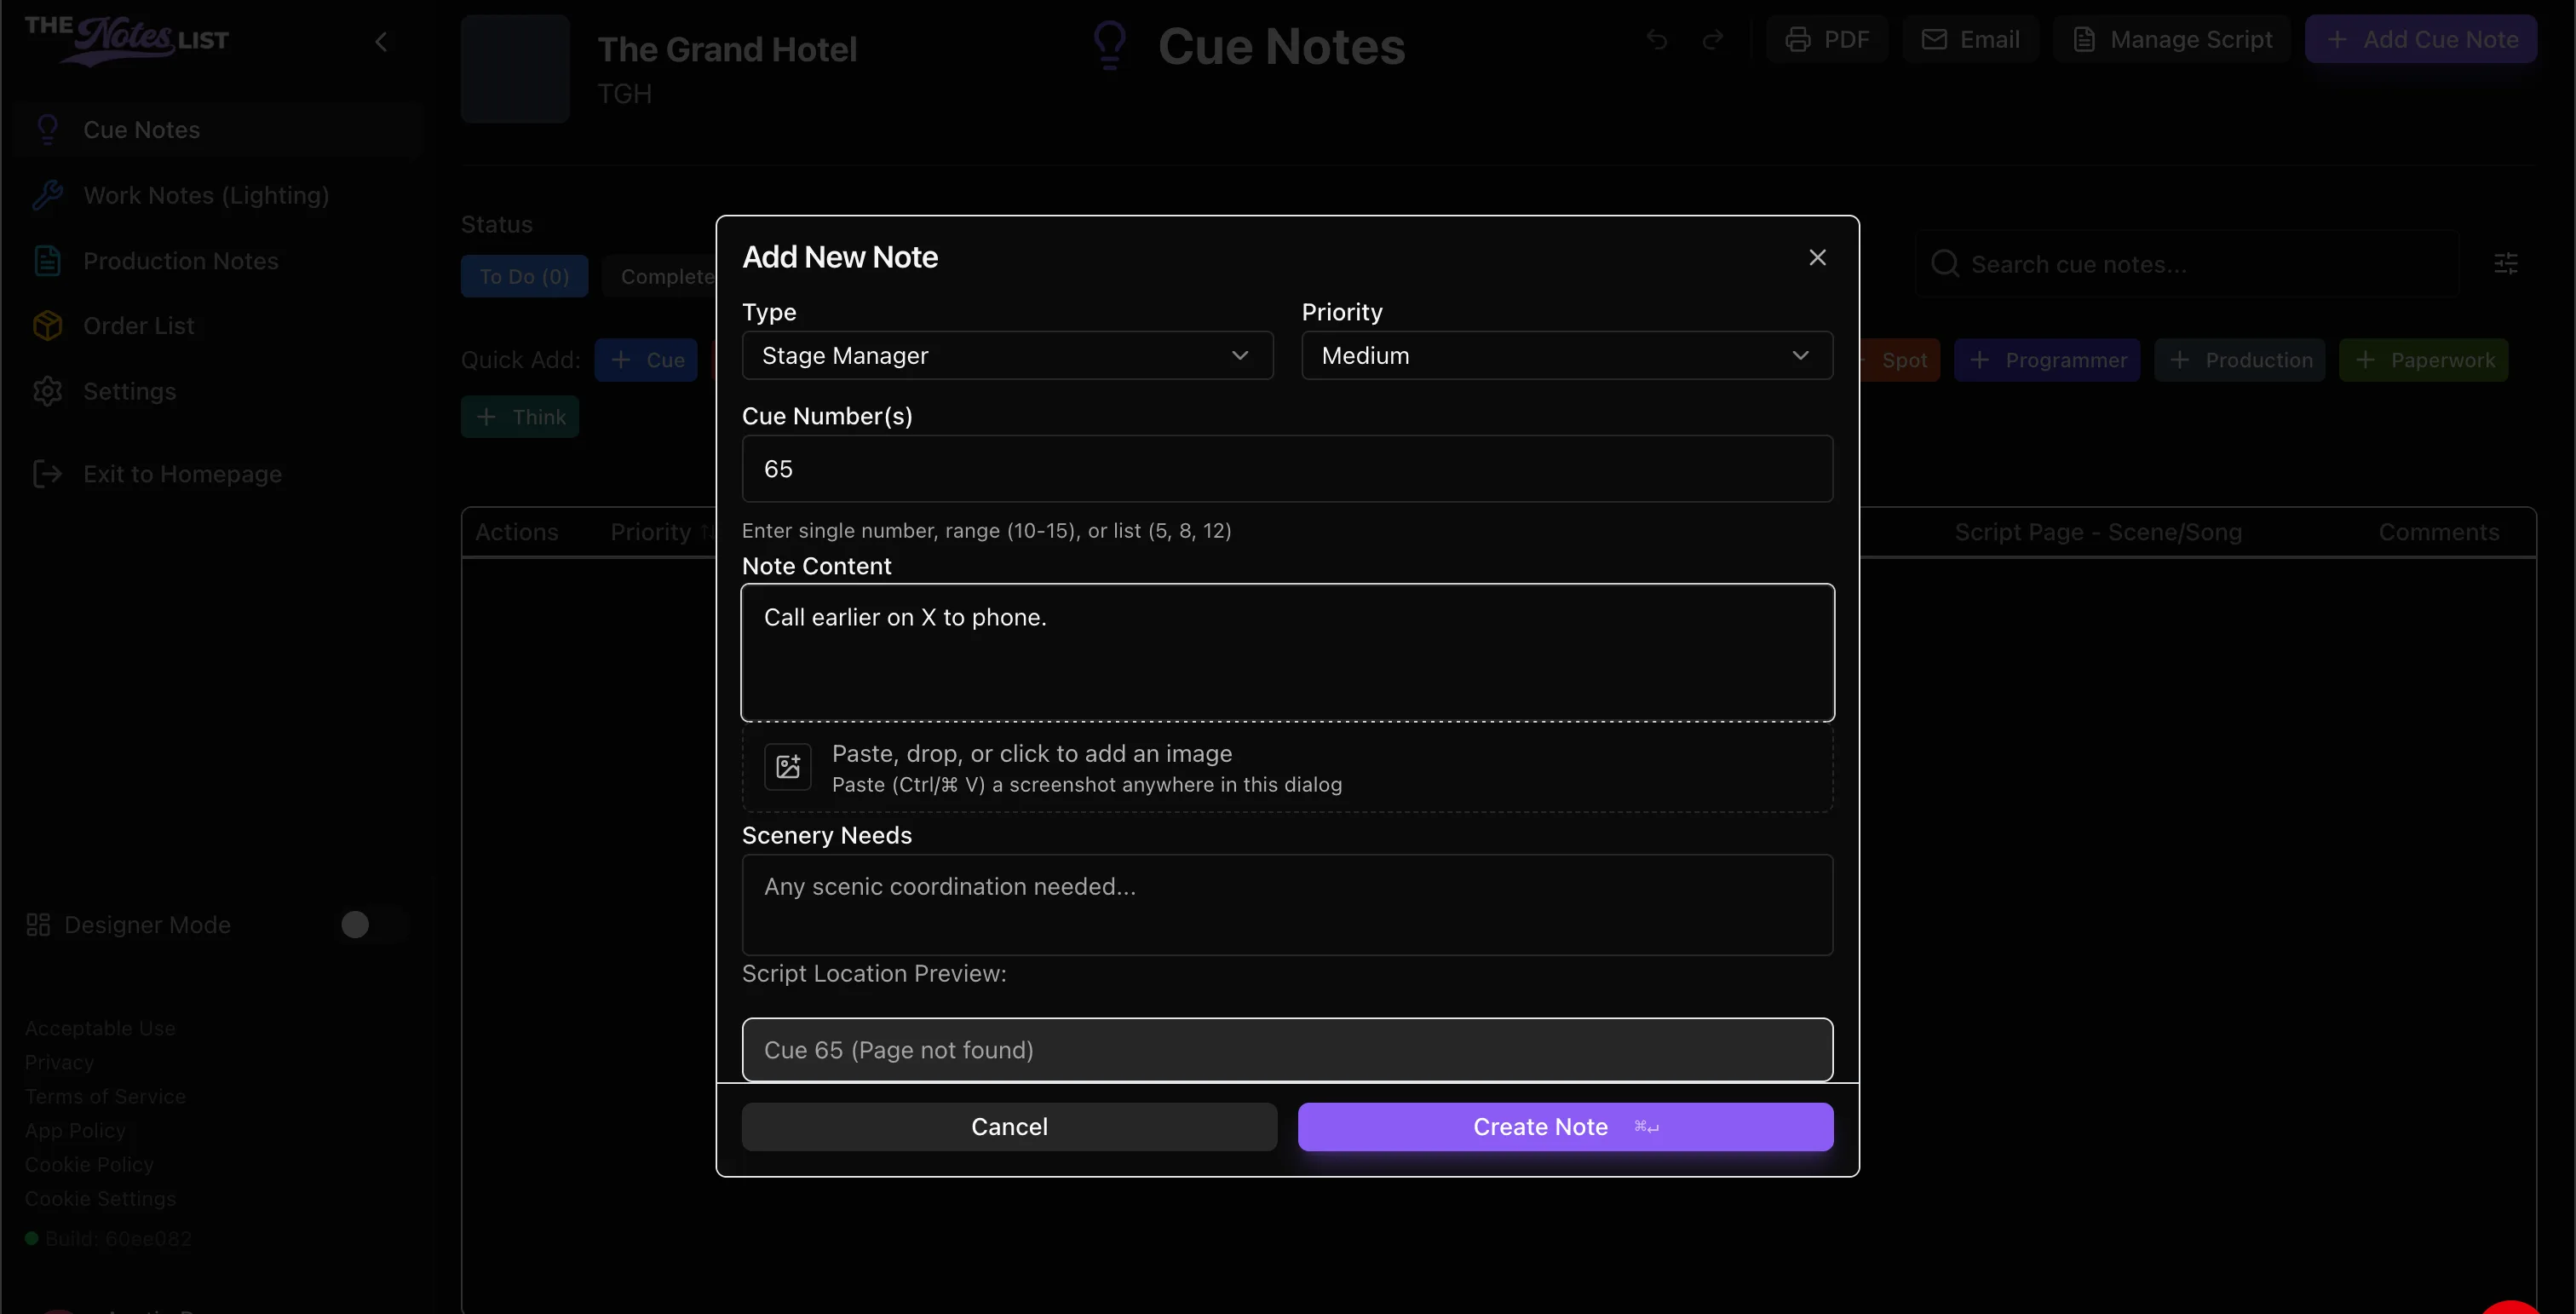
After you select your quick add, a window will appear where you can input your note.
Create your note
In this dialogue box you can:
- Adjust the note type
- Set the priority level
- Enter a corresponding cue number
- Input the note content
- Attach an image
- List any scenic needs that pertain to this note.
If your script is synced, you will see the bottom of the box populate as well. (More on integrations and exports later.)
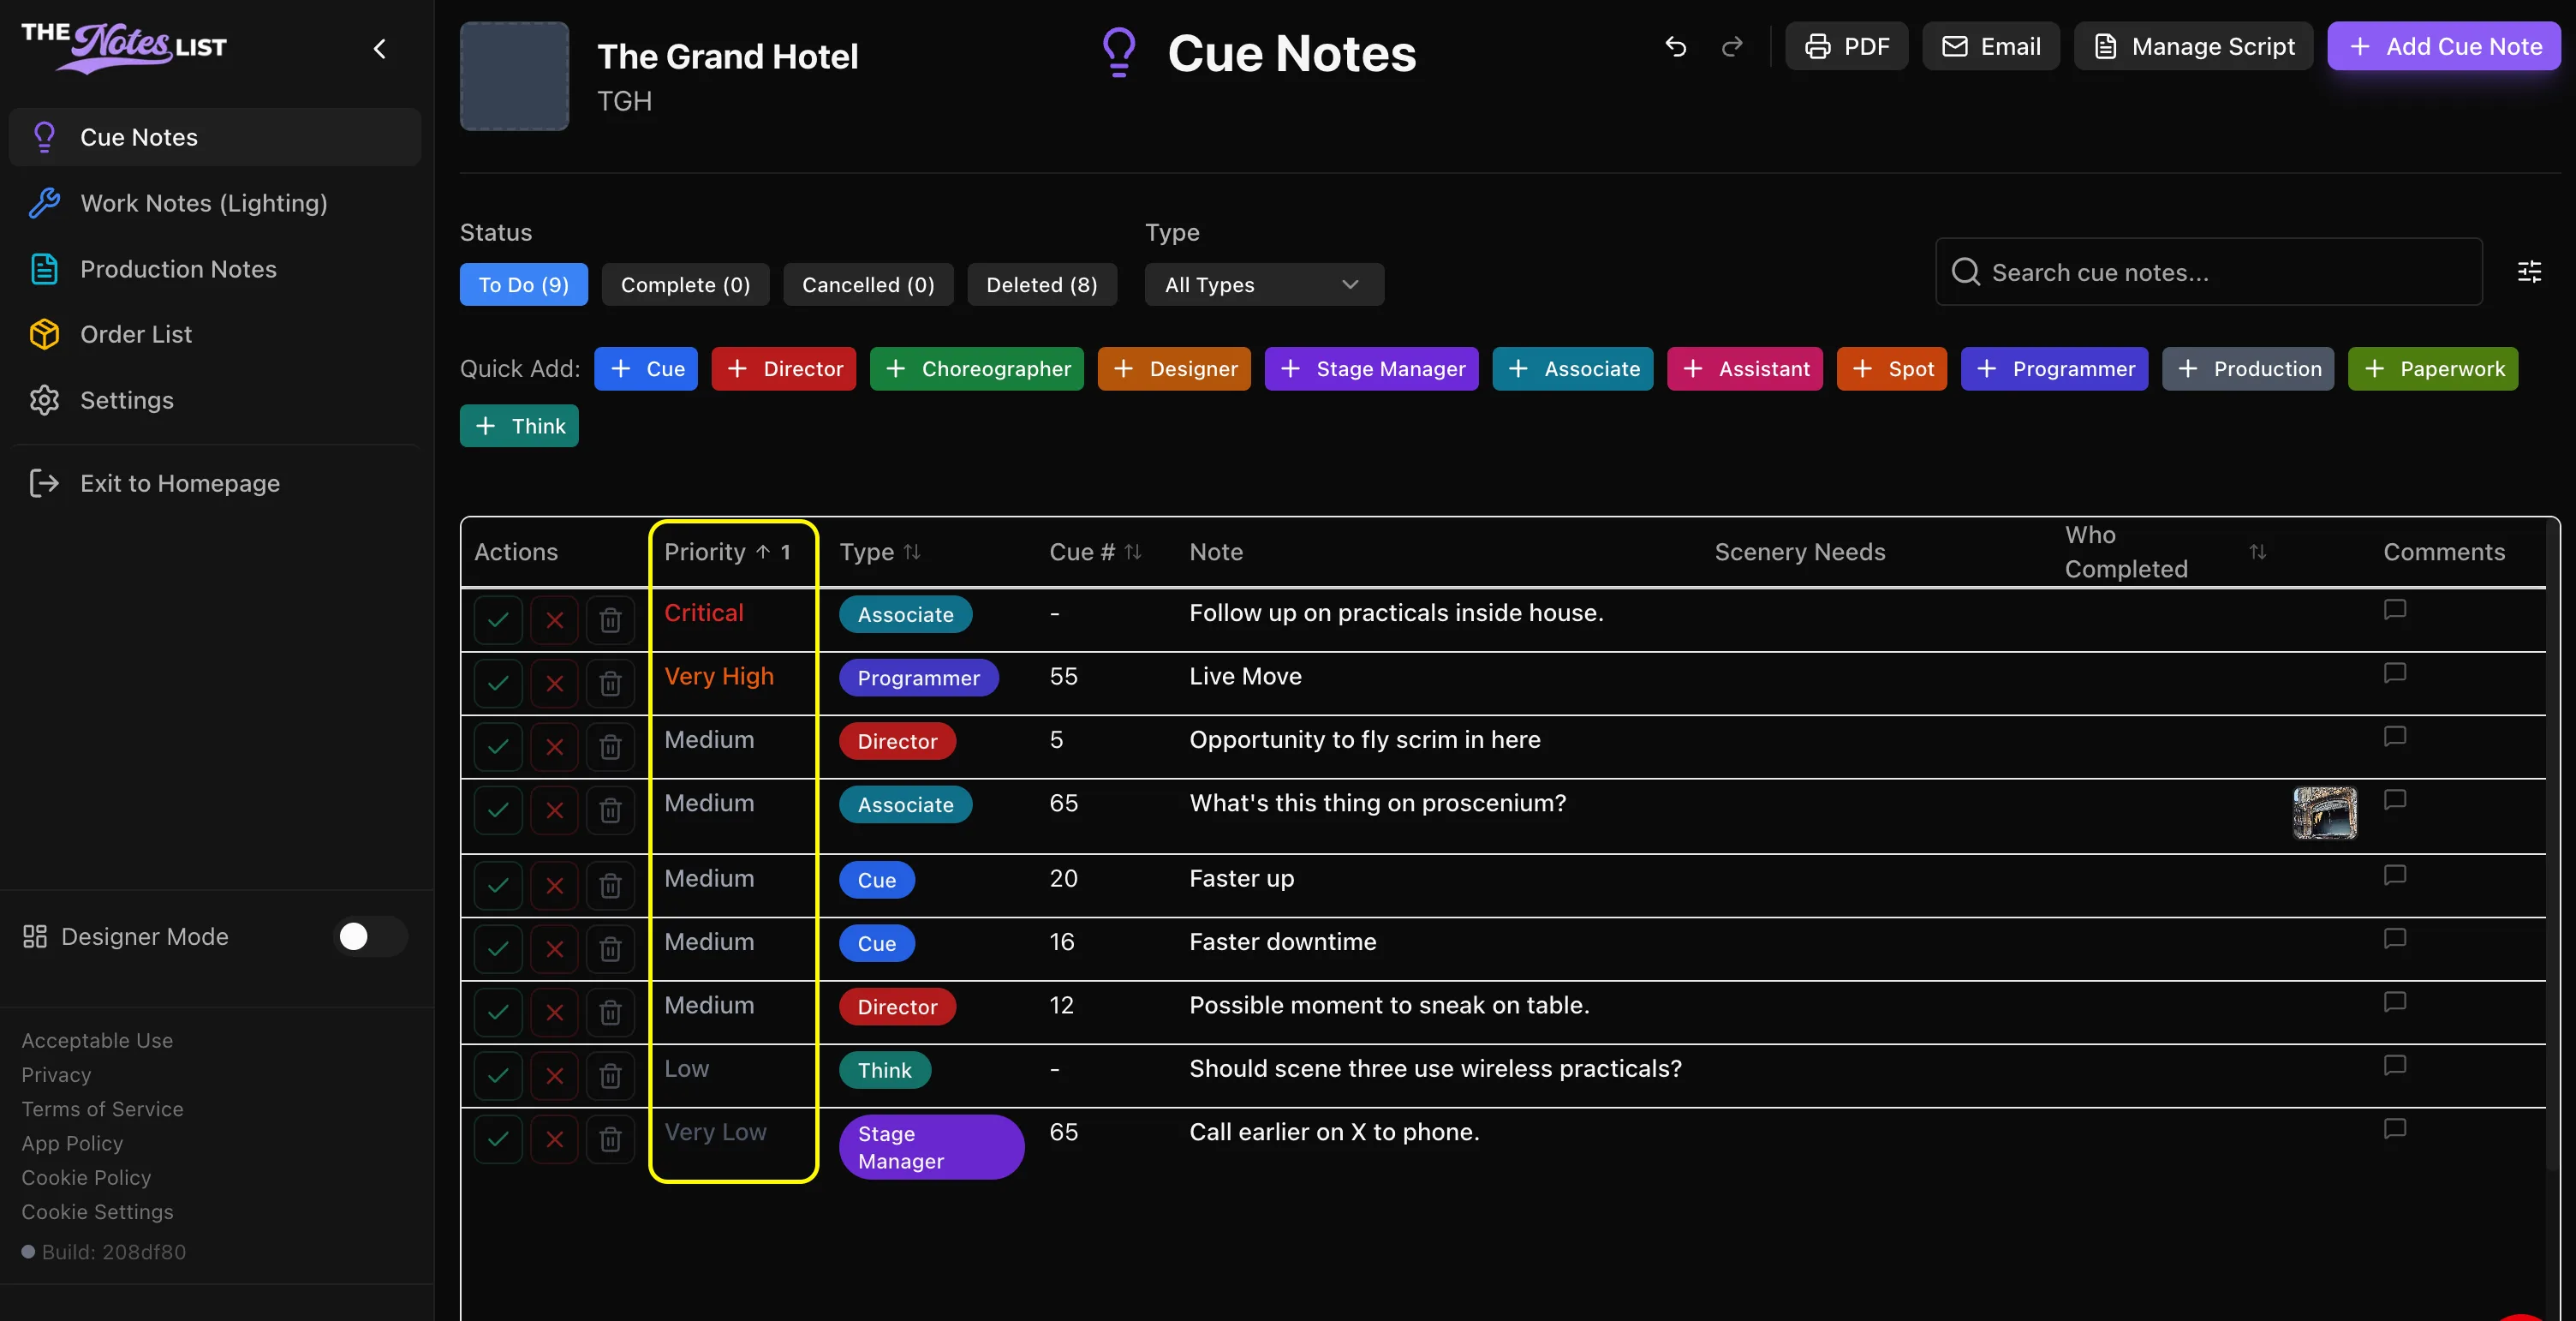
Select Create Note to input the note and go back to the main window. You will see your note populated in the list. The Notes List automatically populates the note row with a color coordinated icon from your quick add selection to see different note types at a glance.
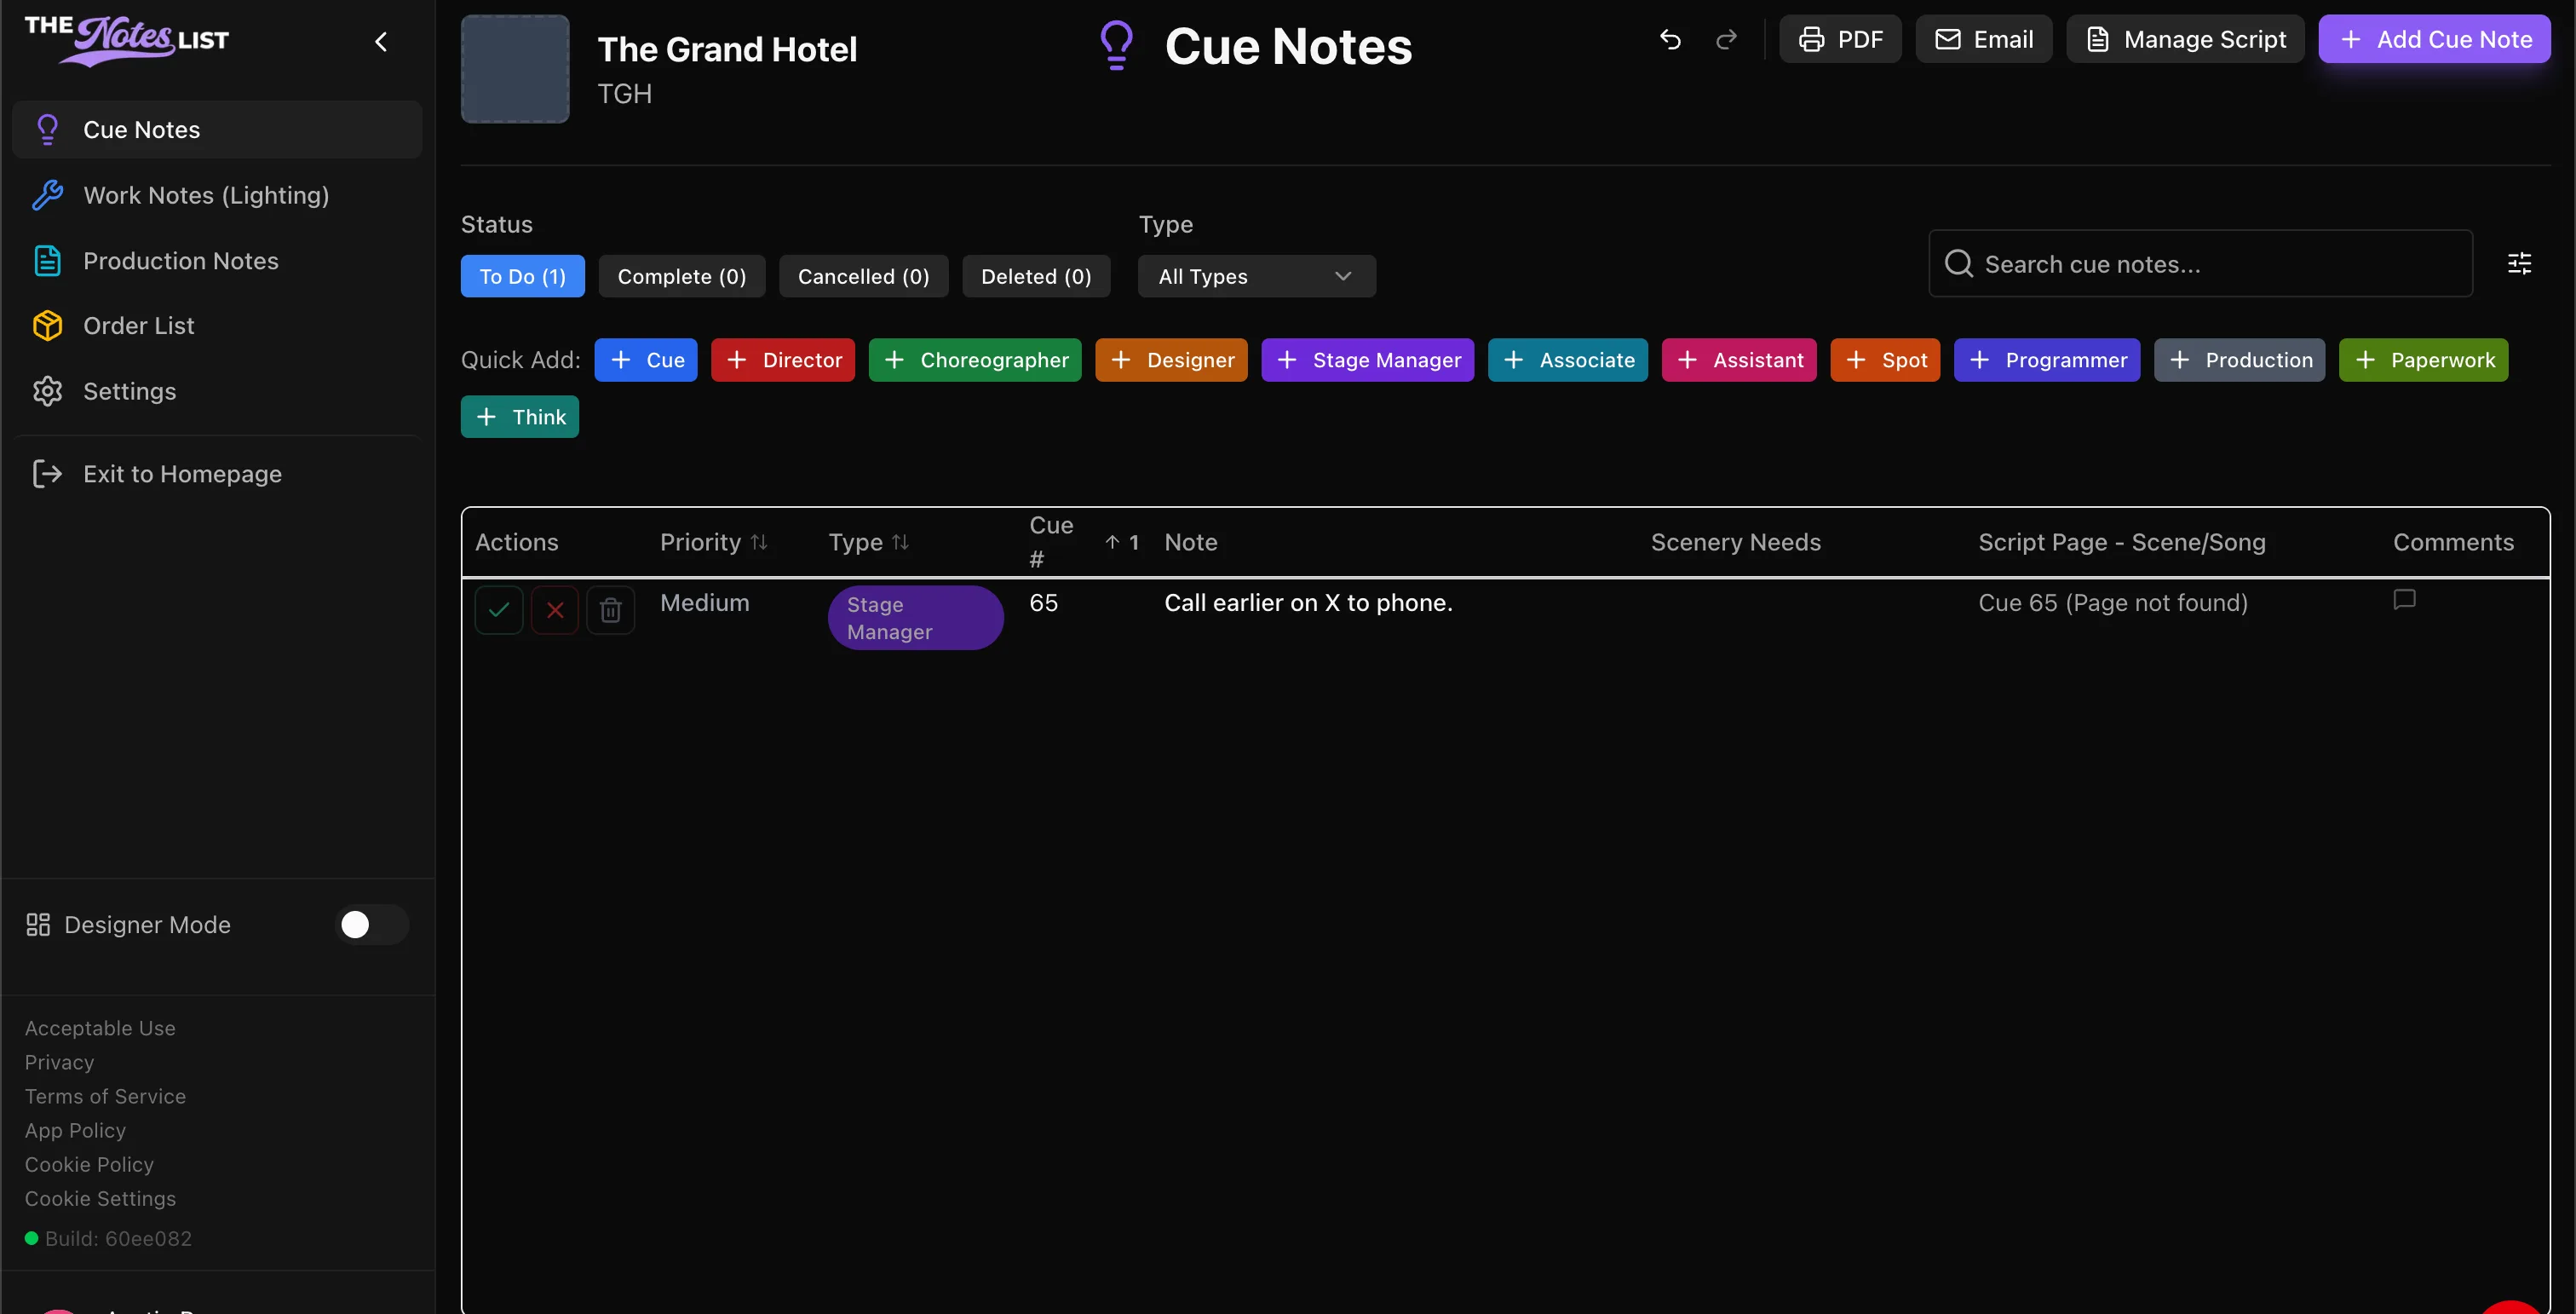
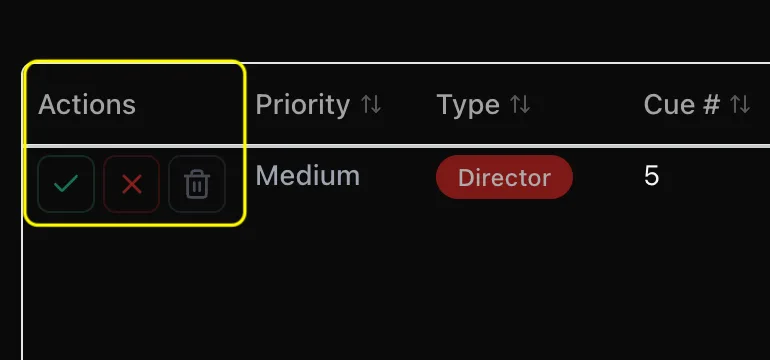
Once the note is created, all team members will be able to view it live. You have three options to dispose of the note.
- The green check will mark as complete.
- The red X will mark as cancelled.
- The trash icon will delete the note.
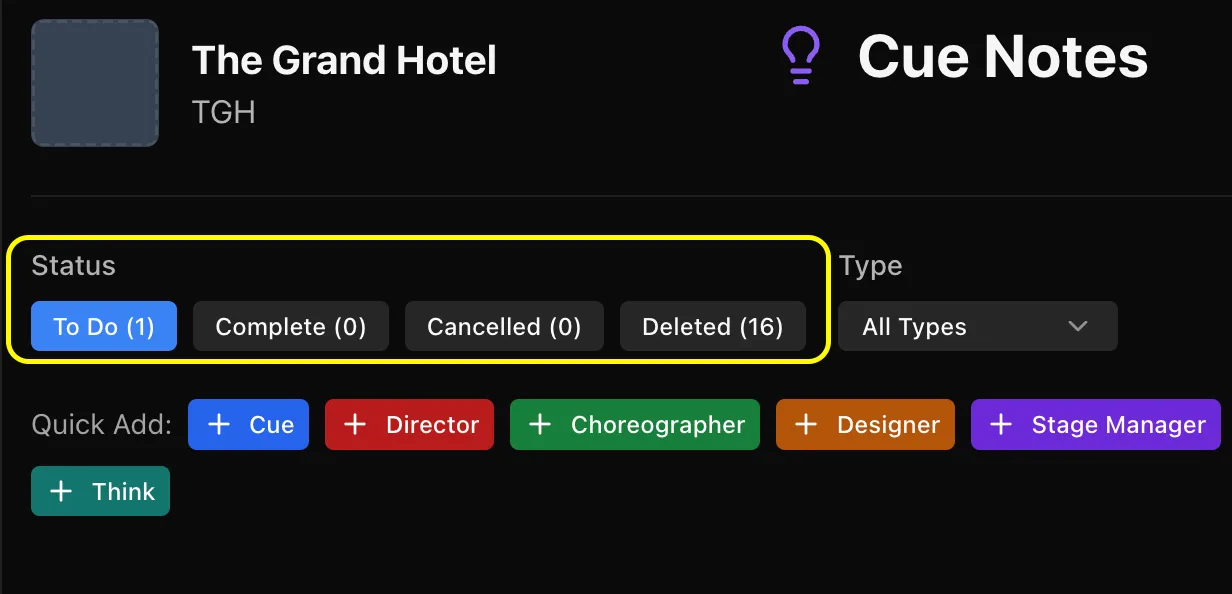
You are also able to view completed, cancelled, and deleted notes by clicking the tabs in the Status area above the quick adds.
Sort your notes.
All columns in the note-taking window are sortable by clicking the column title. In this example we've sorted notes using the priority column from highest to lowest. All priorities have the ability to be renamed, recolored, and reordered based on your production needs.